I went in for a second trial and Jeanie was as lovely as ever. On the actual day of, the curls will be set longer so that everything doesn't just fall out as soon as I take my hair down (which was kind of the case after the trial... well that and Texas weather). Please note, it is really hard to take pictures of the back of your own head.
I'm going to play around with it a bit between now and the wedding to figure out if I want it all down or if I want some up/ some down. (I figured I could just throw in some curlers and try out a few different styles... it won't be perfect, but it's better than paying for a third hair trial). Jeanie also suggested that if I decide to trim my hair between now and then, to also add in more layers because it will accentuate the curls.
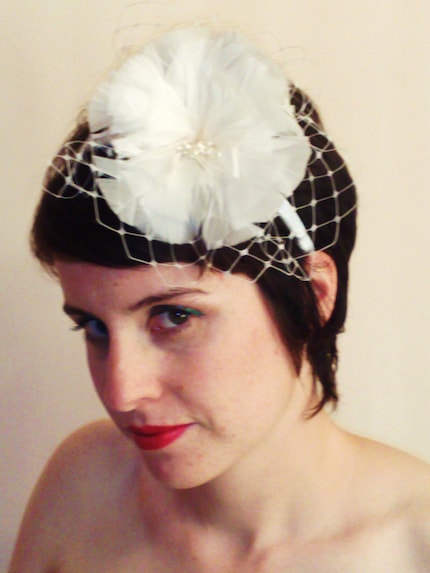
Remember that hair piece I was going to work on? This is what it looks like (hmmm, that pomander looks familiar:)):
It's actually a flower-type fabric thing connected to a really cheap headband. I'll post a tutorial about it soon, promise! In the meantime, you can visit this tutorial by Heart of Light, my inspiration! Although I love the headband, and the fact that it will keep my hair out of my face, I'm concerned that it will be too much with the bolero I plan on wearing and my chunky necklace. And , I just realized I never posted about it so here you go:
I ordered it from Etsy seller Pendred Keller and I luuuurve it. Alot. I can really see myself wearing it after the wedding- yay! Here's a close up (please excuse my skin imperfections):
I think I'm becoming obsessed with all things purple.
If I don't end up wearing both at the reception. I will end up wearing them for our day-after photo shoot (which I decided to do instead of bridals). I think it would look cute if I wore the headband with my hair up in a bun.... sort of like this.
So what do you think, are both items too much? Is anyone else having a hard time figuring out their accessories?
8.28.2009
Hair & Make-up: Part 1
I'll warn you ahead of time, this post is filled with lots of pictures of moi. Last Friday, I had my hair/make-up trial. Even though I had plenty of time to prep for this, I went in uncertain of exactly what I wanted. I showed Jeanie my inspiration pictures and after a few minutes of deliberating (and taking in to account factors such as the Texas humidity), I decided to go with an up-do.
Obligatory "before" picture sans make-up and hair style:
I washed my hair the night before the trial and learned that I should have washed it the morning before. My hair was still too soft/ not oily enough, which required more hair spray. After an hour and a half of Jeanie working her magic, I headed home to take some pictures of the result.
The back of my hair:
Looking at these pictures now, I like the soft look of it, but I still don't think it's the right hair style for me.
With the veil:
And now onto the make-up. I didn't give Jeanie very much direction on the make-up portion of the trial, other than telling her that I don't wear much of it. I hadn't found any inspiration pictures to bring her either, so I was a little nervous. Luckily for me, Jeanie is so fabulous she came up with a look that I absolutely loved!!!
With the hair still up:
I ended up taking my hair down about 30 minutes after I came home because the back of my head started hurting, really bad. I'm not sure if was because of the weight of my hair all in one spot or the pins or both, but for this reason alone, I would recommend that everyone get a trial before their actual day so they can be sure it's going to be comfortable.
Now, more make-up pics:
7 hours later:
All the make-up is Aveda. I wish I had a list of all the specific products she used, but at the moment I don't. I'll try to get a list for anyone that is interested. Everything except for the lip color stayed on for pretty much the whole day (I had my appointment at 10:30 and took my make-up off around 11). I'm planning on picking up the lip products she used so I can reapply and avoid the dry lip look I'm sporting in the above pictures. :) The only thing I'm going to ask her to do differently is go a little easy on the mascara. I don't usually like wearing it and she was putting it on before I could say anything. I'm hoping on the actual day of my wedding, I'll be able to forgo the mascara and just do a little lash curling. Stay tuned for part 2 of my hair trial soon to come!
Do you have any advice for the hive, if you had a hair or make-up trial? What is your favorite make-up product that you would recommend?
Obligatory "before" picture sans make-up and hair style:
I washed my hair the night before the trial and learned that I should have washed it the morning before. My hair was still too soft/ not oily enough, which required more hair spray. After an hour and a half of Jeanie working her magic, I headed home to take some pictures of the result.
The back of my hair:
The right side is a little messier because after I looked at it when she had finished, I decided I didn't want the side areas coming out as much (I would have rather had them go back). The problem I ran into is that I have so much hair, and it's thick, that this style didn't seem to look as good on me as it did in my inspiration photos.
The left (pretty) side:
Looking at these pictures now, I like the soft look of it, but I still don't think it's the right hair style for me.
With the veil:
And now onto the make-up. I didn't give Jeanie very much direction on the make-up portion of the trial, other than telling her that I don't wear much of it. I hadn't found any inspiration pictures to bring her either, so I was a little nervous. Luckily for me, Jeanie is so fabulous she came up with a look that I absolutely loved!!!
With the hair still up:
I ended up taking my hair down about 30 minutes after I came home because the back of my head started hurting, really bad. I'm not sure if was because of the weight of my hair all in one spot or the pins or both, but for this reason alone, I would recommend that everyone get a trial before their actual day so they can be sure it's going to be comfortable.
Now, more make-up pics:
Closeup of the eyes, I love how they turned out:
7 hours later:
All the make-up is Aveda. I wish I had a list of all the specific products she used, but at the moment I don't. I'll try to get a list for anyone that is interested. Everything except for the lip color stayed on for pretty much the whole day (I had my appointment at 10:30 and took my make-up off around 11). I'm planning on picking up the lip products she used so I can reapply and avoid the dry lip look I'm sporting in the above pictures. :) The only thing I'm going to ask her to do differently is go a little easy on the mascara. I don't usually like wearing it and she was putting it on before I could say anything. I'm hoping on the actual day of my wedding, I'll be able to forgo the mascara and just do a little lash curling. Stay tuned for part 2 of my hair trial soon to come!
Do you have any advice for the hive, if you had a hair or make-up trial? What is your favorite make-up product that you would recommend?
8.27.2009
Hair Trial...the Second Round
Last Friday I went to my hair and make-up trial, which I hope to post pictures of soon. Though I loved the make-up, I didn't love the hair so much. My stylist, Jeanie, did a wonderful job, but because my hair is thick and longish, the low updo she styled was a) large and stuck out more than the lovely do's on my inspiration photos and b) was heavy and made my head hurt. Thus, tomorrow I will be going back to the salon where they have graciouly allowed me to take part in a second hair trial.
I shyed away from trying a style that allowed most/ all of my hair to be down because I was concerned about the curls falling or my hair turning into a big fro from the inevitable Texas humidity (*hoping this won't be an issue at the end of October*). However, I took the updo down within an hour of coming home last Friday and the curls remained intact for the remainder of the day and there will still reminants of them 24 hours later! So tomorrow, I will be going back with more inspiration photos in hand to sit through round two of the hair trial.
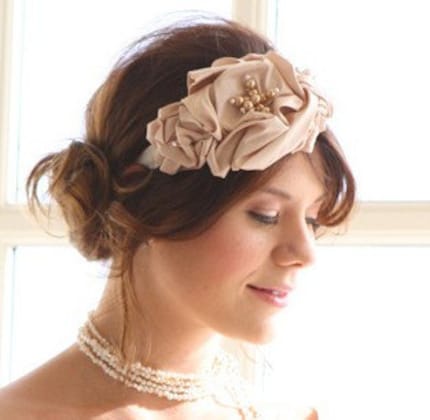
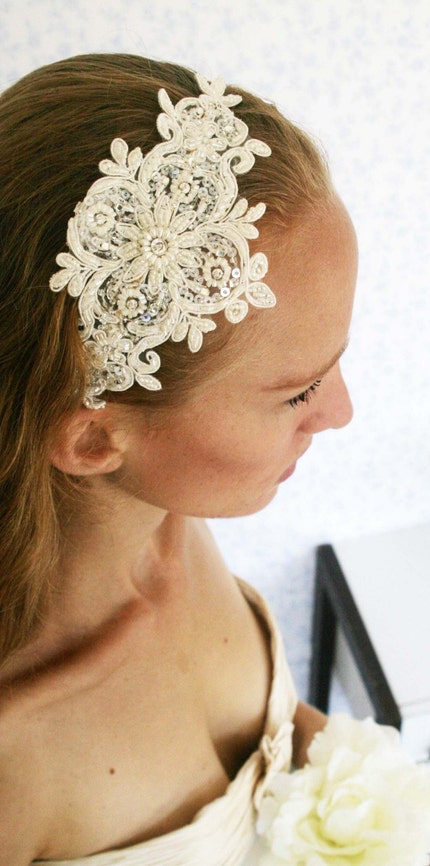
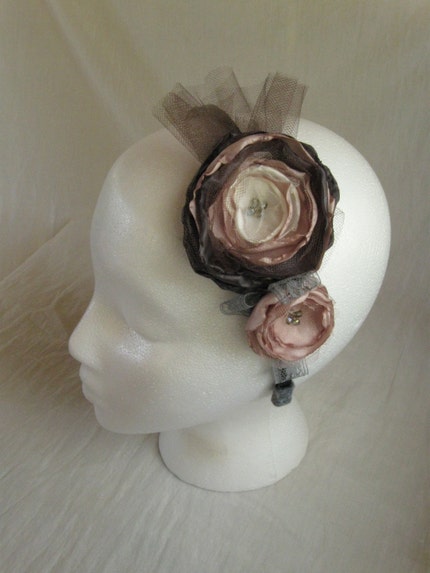
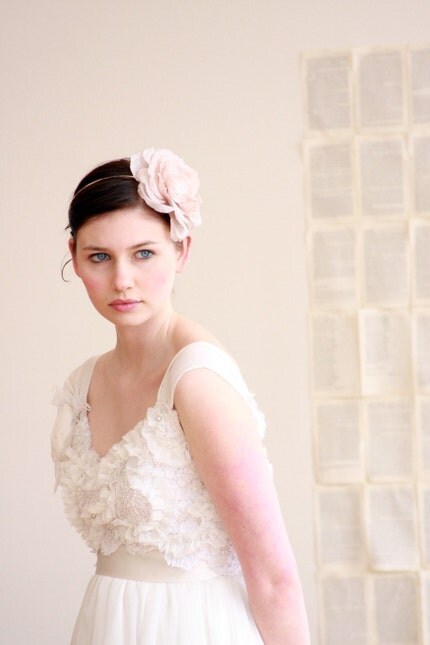
I think I've decided to leave it all down, with a part on the side. My veil will be worn during the ceremony, after which I would like to some type of headband:
Etsy seller: Be Something New
Etsy seller: Little White Dresser
Etsy seller: Plume and Bloom
Myra Kim of Twigs and Honey
Etsy seller: Velvet Owl
Etsy seller: Tied and Feathered
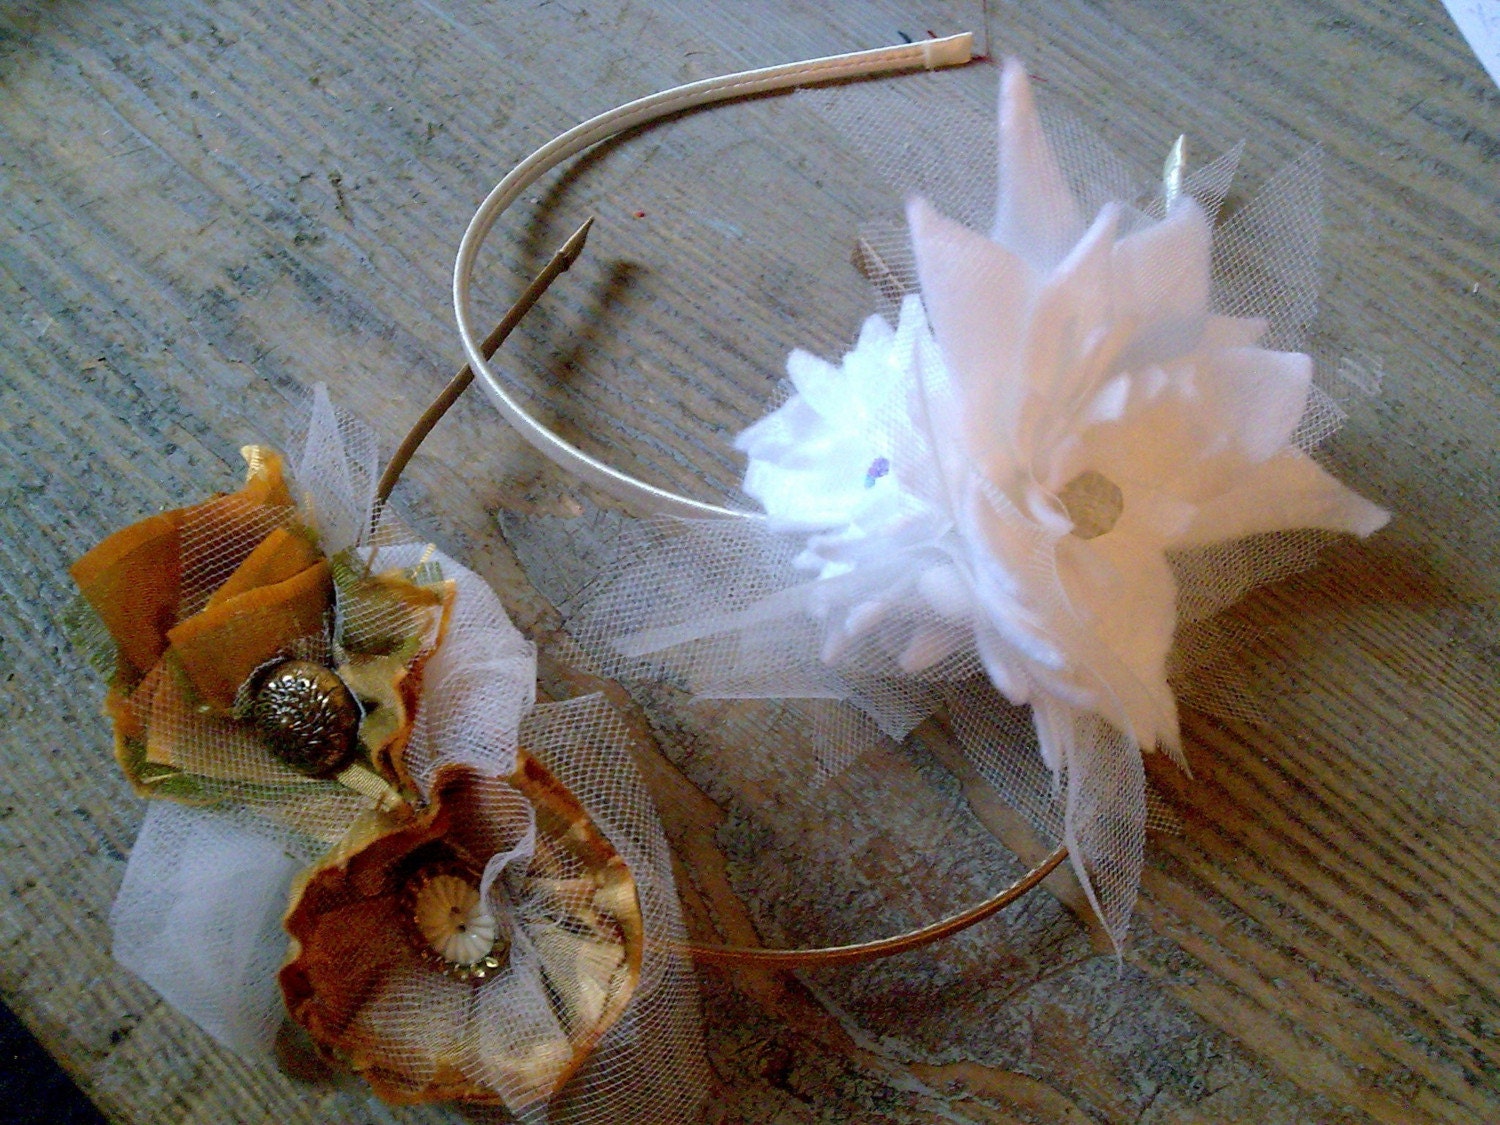
Etsy seller: Vintage Magpie
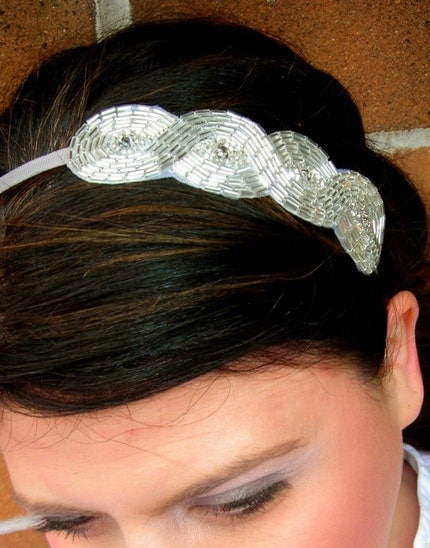
Myra Kim of Twigs and Honey
Etsy seller: Velvet Owl
Etsy seller: Tied and Feathered

Etsy seller: Vintage Magpie

Etsy seller: Bethany Lorelle
They are all so very gorgeous! Though the last headband is beautiful, I think it may be a little to vintage for the look I'm going for. On a side note, I just realized I also have a dress fitting tomorrow and it would have been logical to schedule the hair then the dress appointments so that I can see the look all put together (future brides, keep your other appointment schedules in mind!).
Tonight my homework is to hastely put something together based on the inspiration photos I've posted here so that I can take it to my hair tral tomorrow. Wish me luck! Any advice for making your own hair piece?
8.26.2009
A Bee's Life: The Beagle Edition
My Introduction to the Weblog:
Until 2007, (like many of the Bees) the only internet related reading I did was news headlines and stories on the BBC. I had no idea that such an expansive world of internet literature covering anything from cooking to politics existed. Enter Etsy. I believe I was searching the internet realm for information on Lupus when I came across an Etsy seller who was donating proceeds from her shop to the LFA. I was immediately hooked. From that point, I was introduced to the blog. Many of the first blogs I started reading on a regular basis were by Etsy sellers. I loved following other people's creative ventures, learning tidbits here and there about their lives, and diving further into the realm of the internet world as I was introduced to more and more new blogs to read.
Finding What I Wasn't Looking For:
In late 2007/early 2008, Mr. Beagle and I began seriously discussing a marriage and a wedding. Even though we didn't have an official engagement, I started browsing for wedding inspiration online. I came across the Knot, but it just didn't seem to fit me. One day, while randomly searching for wedding venues in Austin, I came across the Weddingbee site. Much like my experience with Etsy, I was immediately hooked. I secretly followed the blogs of Cupcake, Lovebug, Onion, Tirimisu, Cookie, Jasmine (I could probably go on and on.....) and went through the archives with utter amazement at the weddings the bloggers produced. I loved the details, the diy, and, most of all, the community that was so friendly, welcoming, and supportive.
Getting Up the Nerve to Apply:
After following Weddingbee for over a year, I finally joined the boards and participated by commenting. Even though it was a little overwhelming to join such a large community, I felt a sense of belonging. As I hit the 10 month mark of planning, I decided to apply to be a Bee. This was one of the first goals I had set for myself in a while and it felt so good working toward it and ultimately achieving it. Despite the considerable time and effort that blogging requires, it was worth gaining the new creatve outlet I had discovered. About half way through starting my blog, my family found out my mom had relapsed with leukemia. I started using the blog, and Weddingbee, as my escape from reality and the devestation I was going through. I blogged my little heart out and finally, a month after submitting my application and waiting anxiously with anticipation, I got an email from Pengy stating I had been accepted to blog for Weddingbee. The new generation of dogs had just come out and I chose the beagle in honor of my child aka my basset hound (who is often mistaken for a beagle).
Finding My Voice:
For the first two weeks or so after my acceptance, I waited patiently while my blog archives were posted. I found that the period of transition from my exsting words to a live broadcast was the hardest. I had butterflies whenever my posts would go up, hoping that my ideas would be accepted.... maybe even liked. Then something happened after my first few weeks of live blogging. The comments, although dear to me (we love reader comments!) seemed to matter less and less. I think Mrs. Cheese really hit this point home, but I started blogging again for me: my wedding, my feelings, my experiences. Through this, I hoped to inspire and connect to readers the same way past Bees had somehow found a connection with me. So now, everytime I sit down to write a post, I take this into consideration and I find that the words come much easier than before.
How Weddingbee has Affected My Life:
It may sound a bit dramatic, but blogging has changed my life. I have met so many wonderful friends through this site and I cannot imagine planning my wedding without the support I have received from Weddingbee. Mr. Beagle & I have been down a rough road over the last few months and I can honestly say that blogging has gotten me through some of the tougher moments. In addition to emotional support, I think my wedding has really taken the shape it has because of blogging. It has helped me maintain a continual thread of creative thinking that I have used in creating the details that will be present on our wedding day (that is TWO MONTHS AWAY!!!) I am constantly inspired by my fellow Bees' words, ideas, and projects. I can't say thank you enough to all of the readers who have made Weddingbee what it is today and I feel so blessed to be a part of it.
Tips for the Future Bees:
I think some of the recent posts on this topic have provided some good advice, but here's my two cents. Blog for yourself. If you blog for anyone else, it's not genuine and readers will see through your smoke screen. That being said, I don't think a blog should be an open book about all the drama and tears that sometimes come along with weddings. You don't want to become a Debbie Downer. :) Choose your words carefully, think your thoughts through, and if it takes you two hours to write a post.... don't sweat it. Keep in mind that blogging takes a lot of time and energy, but if you're wiling put in the effort, the rewards are well worth it. I like to mix up my posts: one wordy, one inspiration, one diy... etc, etc. It adds differentiation to the mix and keeps your readers interested. Unfortunately, I'm no Cheese, who can hook anyone with her words alone. If I think of post ideas when I don't have time to blog, I start mini-drafts in my blogger so that I can finish them later. With all the going-ons of wedding planning there's no way I would remember posts otherwise.
A Bee's Afterlife:
Don't worry, you still have several months left of me. :) I plan on sticking around for a while after the wedding to check on the other Bee's in the middle of their planning and of course to post my recaps. Though after a wedding, your life goes on. Your time once spent on planning transitions to time spent on your marriage and nesting, your career and travel, and babies... or, in my case, hopefully another hound (Mr. Beagle, please?!?!)! You can follow me after my stint here ends at: http://www.byelouise.blogspot.com/, my personal blog that was recently made over by the talented Mrs. Flamingo (and will get more attention when I'm not knee deep in wedding projects).
And as always, thanks for listening.
8.18.2009
Down the Aisle
Soon after I got engaged, I knew I wanted to incorporate this song into our processional:
I love Amelie- it's such a beautiful movie with beautiful music and if you haven't seen it yet, you need to watch it. Right now. This song gives me chills everytime I listen to it. Even though our aisle is relatively short, I'm not sure I can get 5 bridesmaids and myself down the aisle in under 3 minutes.
To solve this I'm thinking about using this for my walk down the aisle... maybe starting at around the 1:10 mark (so that we aren't left waiting for the song to finish when we reach the end of the aisle) or shortening the song.
Since we are using a pianist, I am trying to find the actual scores to both pieces so that she can play them. :) Thus far, these are the only two ceremony songs I've tackled. (Although we will be playing Jesu, Joy of Man's Desiring, one of Momma Beagle's fav. songs, perhaps for our grandparents & for FIL's walk down the aisle). Any suggestions for other songs we should incorporate? Is it weird that I'm incorporating two songs back to back from the same soundtrack?
Decisions, Decisions...
On Friday, I have my hair and make-up trial and I'm still indecisive on what I want the stylist to do. I'm stuck between two styles:
Low Updo:


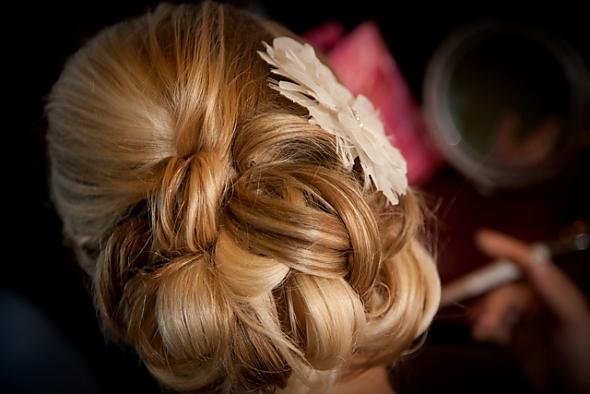

I'm only wearing the veil for the ceremony, so I would also like a style that is versatile enough to add a flower or headband to during the reception. I'm *hoping* that the stylist will be flexible enough to try two different styles during the trial, but I'm not sure if they usually do that or not.
As far as make-up goes..... I don't usually wear any and if I do it's minimal (like powder or blush). So I think I'll just ask her to do a very natural, minimized look and to make me look less pale than I normally do sans make-up.
What do you think? Any suggestions before I head to the trial?
**all photos via www.projectwedding.com unless otherwise noted
Low Updo:


Overall, I want a romantic style with loose curls. My only dilemma is whether or not I should wear my hair up. I always wear my hair up... which is why I would like something a little different for our wedding. I'm also thinking that a low bun might look a little off with the placement of my veil. However, I'm concerned that if it's down, the curls will fall or it will be too hot.
My veil will sit kind of like this:

I'm only wearing the veil for the ceremony, so I would also like a style that is versatile enough to add a flower or headband to during the reception. I'm *hoping* that the stylist will be flexible enough to try two different styles during the trial, but I'm not sure if they usually do that or not.
As far as make-up goes..... I don't usually wear any and if I do it's minimal (like powder or blush). So I think I'll just ask her to do a very natural, minimized look and to make me look less pale than I normally do sans make-up.
What do you think? Any suggestions before I head to the trial?
**all photos via www.projectwedding.com unless otherwise noted
8.12.2009
I Must Be Crazy....
...because I found something else to DIY.
Our ceremony will take place in the church I grew up in. They just recently built a new addition to house the sanctuary and I have had a hard time figuring out what I wanted to use for decor.
I wish I had pictures, but I don't. So you're just going to have to picture this in your head: the sanctuary is very open, with stained concrete floors, modern light fixtures, and a high vaulted ceiling. The aisle is very short and leads up to the alter, above which hangs a giant wooden cross .
I wanted simple, minimal decor ideas for the aisle pews. Something along the lines of this:
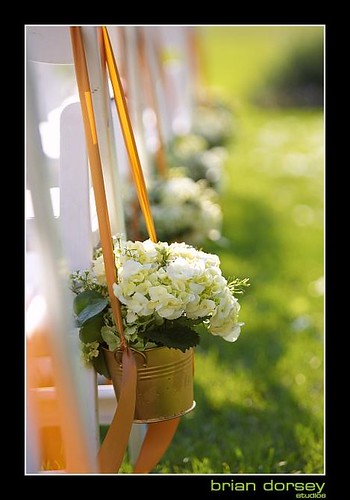


And then, Miss D'orsay posted these:

*sigh*
Aren't they perfect? So... I decided to DIY some pomanders for our church pews (thanks D'orsay!!!). I used the same tutorial as Miss D'orsay. However, instead of using tissue paper, I used ivory tulle (not bridal tulle... just plain, ivory, matte, tulle- the cheap stuff).
When I bought the styrofoam, I accidentally bought 6" spheres instead of 5" (it makes a difference in terms of how much fabric you need). I haven't made any 5" pomanders yet, so the instructions I'm giving are for a 6" foam sphere.
Supplies:
6-7 yards of cheap tulle (this runs about $1.50/yard... and you know I bought mine on sale :))
1 white 6" styrofoam sphere
1 package of 20 gauge floral wire (I bought green wire and it doesn't show, so any color wire will do)
Hot glue gun & glue sticks
To make the individual flowers:
Fold the tulle in half matching bias to bias. Then, fold it in half again after that. I cut 5" strips of tulle and keep the existing folds in place. I accordion folded the tulle to approx. a 1" width. Then I twisted the floral wire around the center of my accordion fold. I then rounded the tops. Adhere each flower to the Styrofoam sphere as is stated in the referenced tutorial. I would like to note that the tulle doesn't fluff out as much as the tissue paper seems to fluff (I haven't made a tissue pom so I don't know for sure). Because of this, I think this project requires more flowers. Bridal tulle is a little more malleable, but it's twice as expensive.
The result:


What Bee DIY projects have you been inspired by?
Our ceremony will take place in the church I grew up in. They just recently built a new addition to house the sanctuary and I have had a hard time figuring out what I wanted to use for decor.
I wish I had pictures, but I don't. So you're just going to have to picture this in your head: the sanctuary is very open, with stained concrete floors, modern light fixtures, and a high vaulted ceiling. The aisle is very short and leads up to the alter, above which hangs a giant wooden cross .
I wanted simple, minimal decor ideas for the aisle pews. Something along the lines of this:


And then, Miss D'orsay posted these:

*sigh*
Aren't they perfect? So... I decided to DIY some pomanders for our church pews (thanks D'orsay!!!). I used the same tutorial as Miss D'orsay. However, instead of using tissue paper, I used ivory tulle (not bridal tulle... just plain, ivory, matte, tulle- the cheap stuff).
When I bought the styrofoam, I accidentally bought 6" spheres instead of 5" (it makes a difference in terms of how much fabric you need). I haven't made any 5" pomanders yet, so the instructions I'm giving are for a 6" foam sphere.
Supplies:
6-7 yards of cheap tulle (this runs about $1.50/yard... and you know I bought mine on sale :))
1 white 6" styrofoam sphere
1 package of 20 gauge floral wire (I bought green wire and it doesn't show, so any color wire will do)
Hot glue gun & glue sticks
To make the individual flowers:
Fold the tulle in half matching bias to bias. Then, fold it in half again after that. I cut 5" strips of tulle and keep the existing folds in place. I accordion folded the tulle to approx. a 1" width. Then I twisted the floral wire around the center of my accordion fold. I then rounded the tops. Adhere each flower to the Styrofoam sphere as is stated in the referenced tutorial. I would like to note that the tulle doesn't fluff out as much as the tissue paper seems to fluff (I haven't made a tissue pom so I don't know for sure). Because of this, I think this project requires more flowers. Bridal tulle is a little more malleable, but it's twice as expensive.
The result:


What Bee DIY projects have you been inspired by?
8.06.2009
Crowned
Here is a cake topper option that I hadn't considered before. That is, until I saw these:
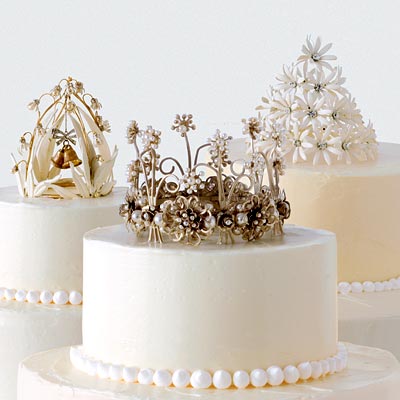


That last one is absolutely my favorite. I love how it seems both rustic and whimsical *sigh*. If I hadn't started making my cake topper (yet another DIY project..I know) I would run out and buy one right. now.
Are you having a traditional or non-tradtional cake topper?


That last one is absolutely my favorite. I love how it seems both rustic and whimsical *sigh*. If I hadn't started making my cake topper (yet another DIY project..I know) I would run out and buy one right. now.
Are you having a traditional or non-tradtional cake topper?
8.05.2009
Cocktail Napkins
....or the project that will consume me.
Remember when I posted about this way back when?
 source
Oh, napkin quilt, you will be my downfall! You see, I'm the type of person who, once they get it in their stubborn head that they will do something, does it... at whatever cost. In this case, it would be making napkins for our guests to be used during the cocktail hour (so that I can later sew them into a quilt).
I was originally going to make dinner napkins, but then I found out our venue would be providing cloth napkins with their fee. By that time I had already purchased the fabric, so I decided the next best thing would be to make cocktail napkins to either be used during the cocktail hour or to be handed out with drinks at the bar. The logistics of displaying them and signage for them is still in the works, but I have, at least, started the sewing process.
Without further ado.... the napkin spread:

I chose fabrics with various shades of blues and purples to go with our wedding colors. I am creating several napkins (so that there will be duplicates) from each cut of fabric. I really love the fabrics. I think this is a major factor in why I have decided to continue on with this project. :)
How-To:
I tried out three different methods of sewing.
Method 1 involved cutting a square of fabric, making bias tape from some left over fabric, and attaching the bias tape to the fabric square with the end result (as shown):

It was rather time consuming to make and sew the bias tape (it would have been simpler if I used a bias tape maker or just bought bias tape ready made). On the other hand, it would have been expensive to purchase enough bias tape for all the napkins, so I moved on to option 2.
Method 2 involved cutting a square of fabric, sewing a 1/4" basting stitch around the edge of the fabric square, and using adhesive tape(stitch witchery also works) to create a final seam for the napkins.


Finally, I folded the fabric edge over one last time so that the adhesive tape was sandwiched between the fabric, and then I pressed the fabric to seal the seam. This option was still a little pricey because of the amount of adhesive tape I would have to buy..... so I moved on to option 3.
Method 3 is similar to method 2, but instead of using adhesive tape to seal the seam, I sewed it.
I pre-washed all the fabric and then steamed it before beginning. For each napkin, I cut a 12"x12" square of fabric and trimmed the corners (this prevents the seamed edges from peeking out on the corners when you fold them over).


I was originally going to make dinner napkins, but then I found out our venue would be providing cloth napkins with their fee. By that time I had already purchased the fabric, so I decided the next best thing would be to make cocktail napkins to either be used during the cocktail hour or to be handed out with drinks at the bar. The logistics of displaying them and signage for them is still in the works, but I have, at least, started the sewing process.
Without further ado.... the napkin spread:

I chose fabrics with various shades of blues and purples to go with our wedding colors. I am creating several napkins (so that there will be duplicates) from each cut of fabric. I really love the fabrics. I think this is a major factor in why I have decided to continue on with this project. :)
How-To:
I tried out three different methods of sewing.
Method 1 involved cutting a square of fabric, making bias tape from some left over fabric, and attaching the bias tape to the fabric square with the end result (as shown):

It was rather time consuming to make and sew the bias tape (it would have been simpler if I used a bias tape maker or just bought bias tape ready made). On the other hand, it would have been expensive to purchase enough bias tape for all the napkins, so I moved on to option 2.
Method 2 involved cutting a square of fabric, sewing a 1/4" basting stitch around the edge of the fabric square, and using adhesive tape(stitch witchery also works) to create a final seam for the napkins.
I first sewed a 1/4" basting stitch around the edge of the fabric square so that it would be easier to crease. I seamed one edge at time by first folding the fabric edge at the basting stitch. I then ironed on the stitch witchery above the folded fabric and removed the backing.


Method 3 is similar to method 2, but instead of using adhesive tape to seal the seam, I sewed it.
I pre-washed all the fabric and then steamed it before beginning. For each napkin, I cut a 12"x12" square of fabric and trimmed the corners (this prevents the seamed edges from peeking out on the corners when you fold them over).


I used a large stitch width on my sewing machine as a basting stitch. I suppose this step isn't really necessary, but it made it so much easier to make a straight fold along the edges. After I finished sewing a basting stitch with 1/4" allowance, I folded the edges over along the stitch and pressed them so that the folded edge stayed in place.

I folded the pressed edges over a second time, pressed it again, and then pinned it twice on the top of the napkin. This helped to hold the pressed edge in place while I was sewing them.

I found that it was easier to fold, press, and pin the opposite edges first so that I could trim the remaining edges at the corners if necessary to prevent them from peeking out at the sides after I had folded them. When I finished pinning all edges, it was time to sew!

I used a 1/4" seam allowance to sew the edges in place. I used a continuous stitch and pivoted the needle when I reached the corners:


The finished front and back:


What do you think? Should I have place these at the bar to use under cocktails or should I set them out during the cocktail hour to be used with appetizers? And how do I get people to actually use them?
Subscribe to:
Posts (Atom)


